Yayoi Kusama Pumpkin Art

STREAM Activity: Yayoi Kusama Pumpkin Art

Happy Women’s History Month!

Activity best for children ages four and up

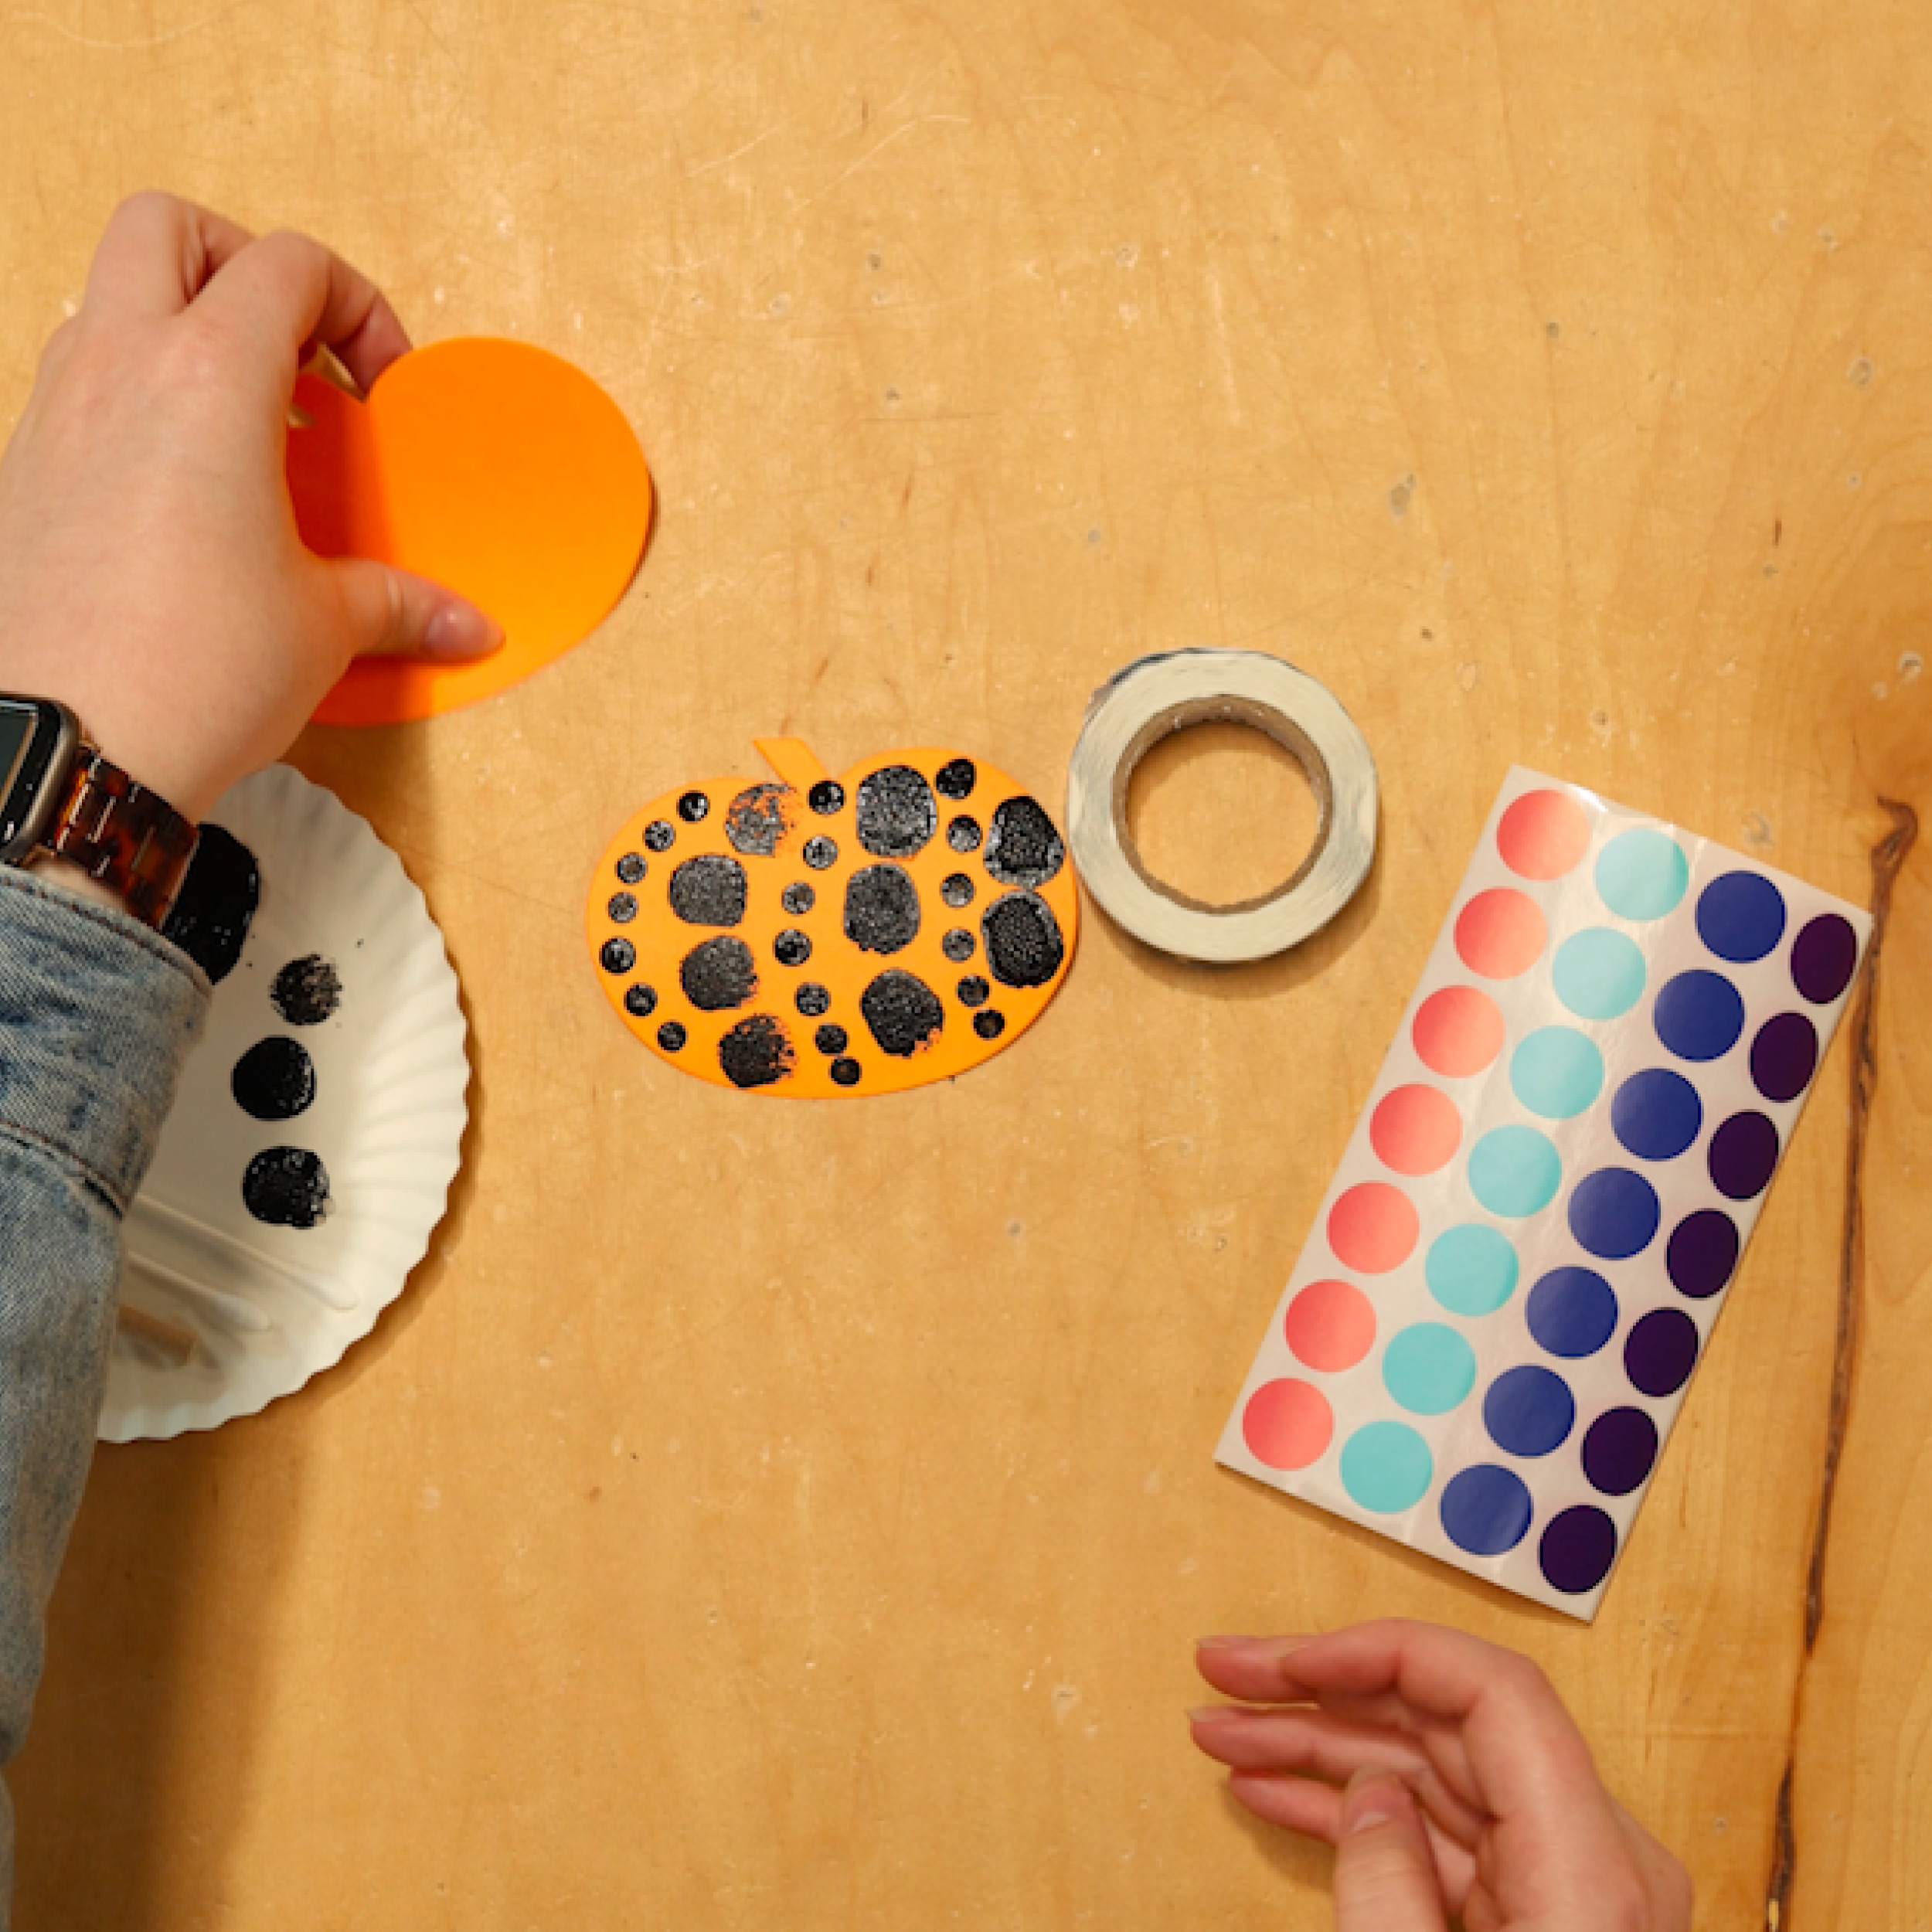
In honor of Women’s History Month, we are celebrating world famous Japanese Artist, Yayoi Kusama, and her wonderful world of pumpkin dot art! Yayoi began making art at a very young age, finding joy and happiness in drawing pumpkins with beautiful dot patterns. Yayoi’s sculptures and paintings can be found in museums around the world and is well-known for her “Infinity Net” patterns that can be found on her pumpkins, just like you will be making today!

VOCABULARY

  • Artist: A person who uses their imagination and creativity to create art using different materials such as paint, clay, or music.

  • Sculpture: A piece of art you can walk around, touch, and see from all sides, usually made from clay, wood, or metal.

GUIDING QUESTIONS

  • How can you make different sized dots with your Q-tip?

  • If you became an artist, what materials would you use? (i.e. paint, clay, metal, photography, music)

MATERIALS

  • 1 Sheet of Construction Paper (Any Color)

  • Scissors

  • 2 Q-Tips

  • Black Paint

  • Paper Plate or Paint Palette

  • Optional Supplies: Instead of Q-tips, families can use circle stickers of multiple sizes or dotter paint brushes shown below. Additionally, if you are able to, you can print out our pumpkin template here!

DIRECTIONS

STEP 1

Cut out a pumpkin shape from your construction paper, or print out the pumpkin template and cut the pumpkin out.

Cut out pumpkin

STEP 2

Dip your Q-tip (or dotter) into your paint. Make sure to not get too much paint on your Q-tip or brush! If you have excess paint on your Q-tip, dab it on your paper plate. Remember, your Q-tip is a paintbrush on both ends!

Note: If using the dot stickers, you can begin placing stickers onto your pumpkin.

Paint dots on your pumpkin

STEP 3

Starting at the top of your pumpkin, on either side, create a line of dots on your pumpkin, going from the top to the bottom. Try pressing your Q-tip onto your paper harder and softer to create different-sized polka dots

Yayoi Kusama Pumpkin Art

STEP 4

After you finish your first lines of polka dots, move back to the top of your pumpkin and start a new line of dots next to the line you just finished. Continue this step over again until your pumpkin is full of beautiful polka dots! Now your pumpkin is complete!

Finished pumpkins