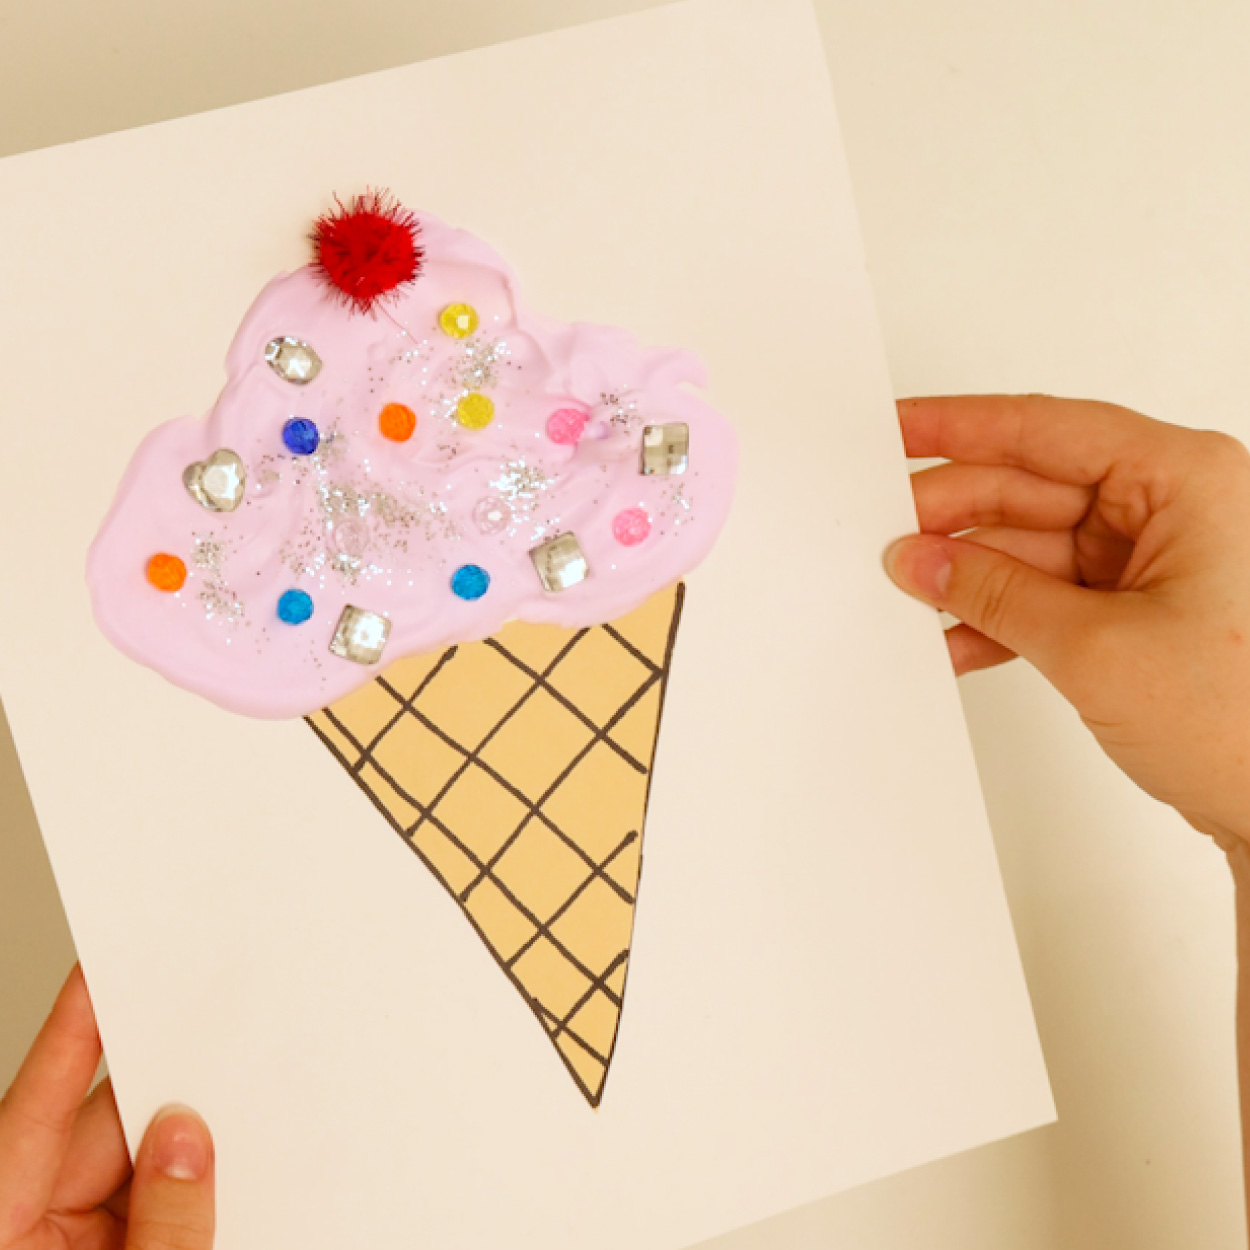
Finished puffy paint ice cream cone.

Puffy Paint Ice Cream Craft for Kids

The Sweetest Summer Craft That Won’t Melt for Ages 3 and Up

What’s your favorite summer treat? Whether it’s a towering scoop of strawberry, a swirl of mint chocolate chip, or a classic vanilla cone, nothing says summer like ice cream! In this puffy paint ice cream craft for kids, your child gets to build their dream ice cream cone using fluffy homemade puffy paint, colorful pom poms, sparkly beads, and glitter. The best part? This one will never melt!

This is a mixed media art activity that introduces young children to the concept of bas relief — art that has real texture and dimension, just like the bumpy sprinkles on a real ice cream scoop! It’s a wonderful at-home STEAM activity and summer kids’ craft for ages 2 and up that combines art, sensory exploration, and creative expression in one delightfully messy project.
VOCABULARY

  • Bas Relief: A type of artwork that has raised texture and dimension. The puffy paint scoops and add-ins on your ice cream cone are a form of bas relief, just like how a real scoop of ice cream is round and bumpy, not flat.

  • Texture: The way something feels and looks when you touch it. We describe texture with words like “smooth,” “rough,” “fluffy,” “soft,” and “hard.” The puffy paint feels soft, the beads feel smooth and hard, and the glitter feels sparkly!

  • Mixed Media: An artwork that uses more than one type of material. Your ice cream cone uses crayons, puffy paint, pom poms, beads, and glitter.

GUIDING QUESTIONS

  • What is your favorite ice cream flavor?

  • How does the puffy paint feel compared to the beads or pom poms? Can you describe the texture?

  • What do you notice happening to the puffy paint as it dries?

MATERIALS

  • Brown construction paper

  • White paper

  • Crayons

  • Glue

  • Shaving cream

  • Liquid watercolor or food coloring

  • Spoon or large paintbrush

  • Colorful pom poms, small beads, glitter

DIRECTIONS

STEP 1

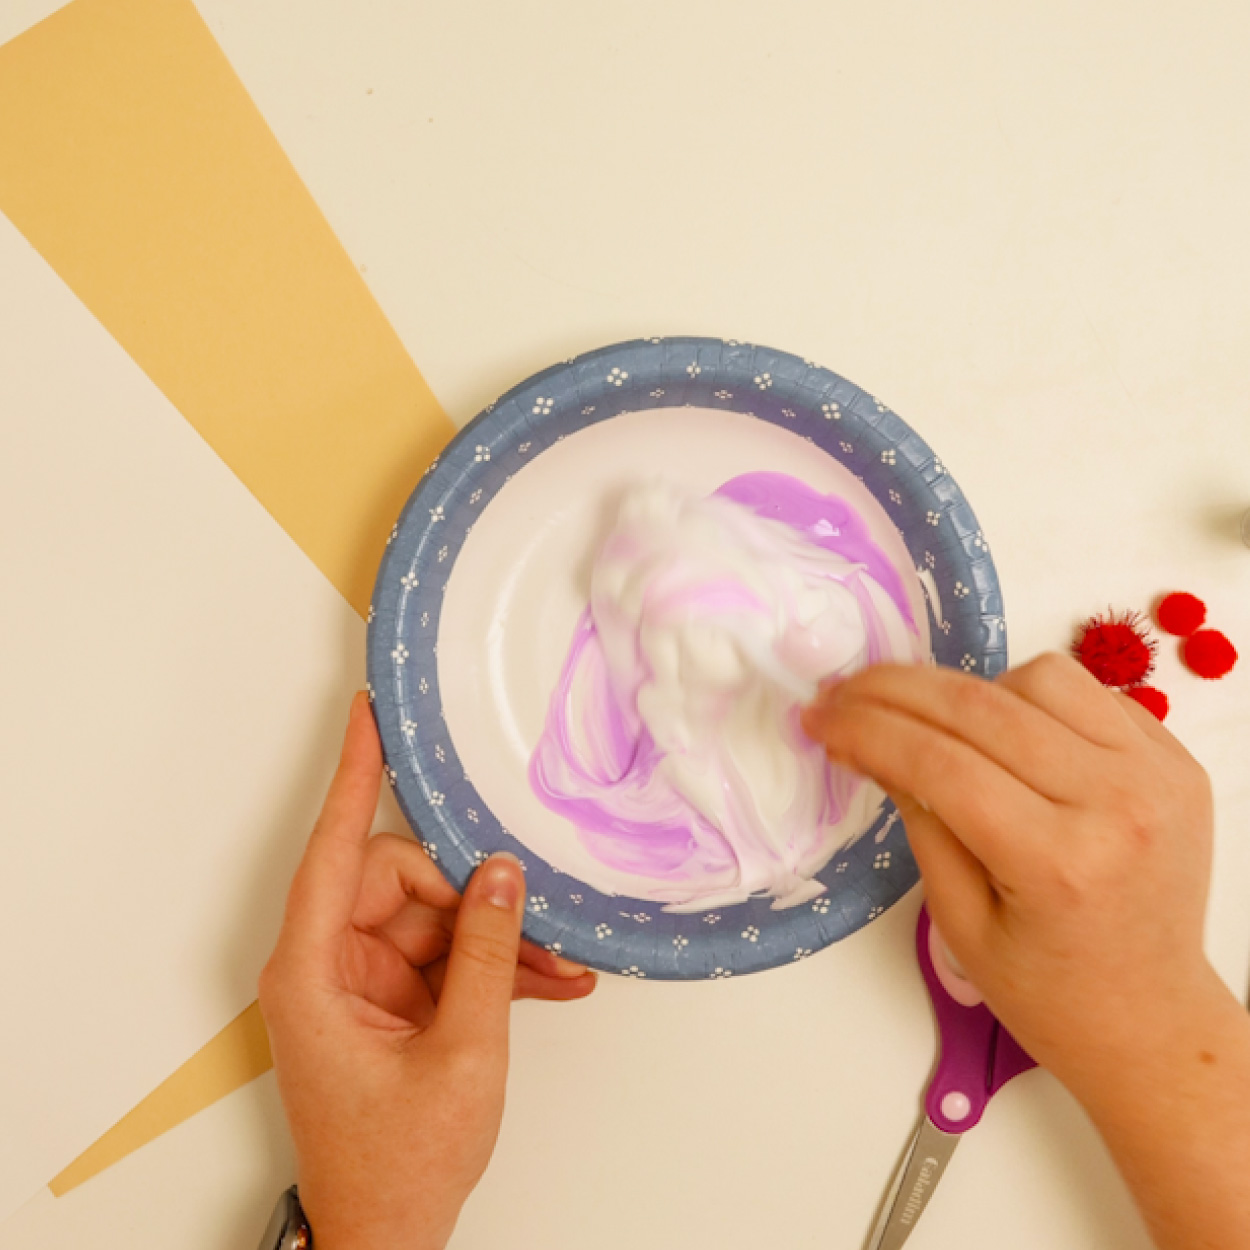
Start by creating your puffy paint mixture! In a bowl, add about an inch of glue, a few drops of liquid watercolor, and a generous amount of shaving cream. Fold this together until everything is mixed in.

Create the puffy paint mixture

STEP 2

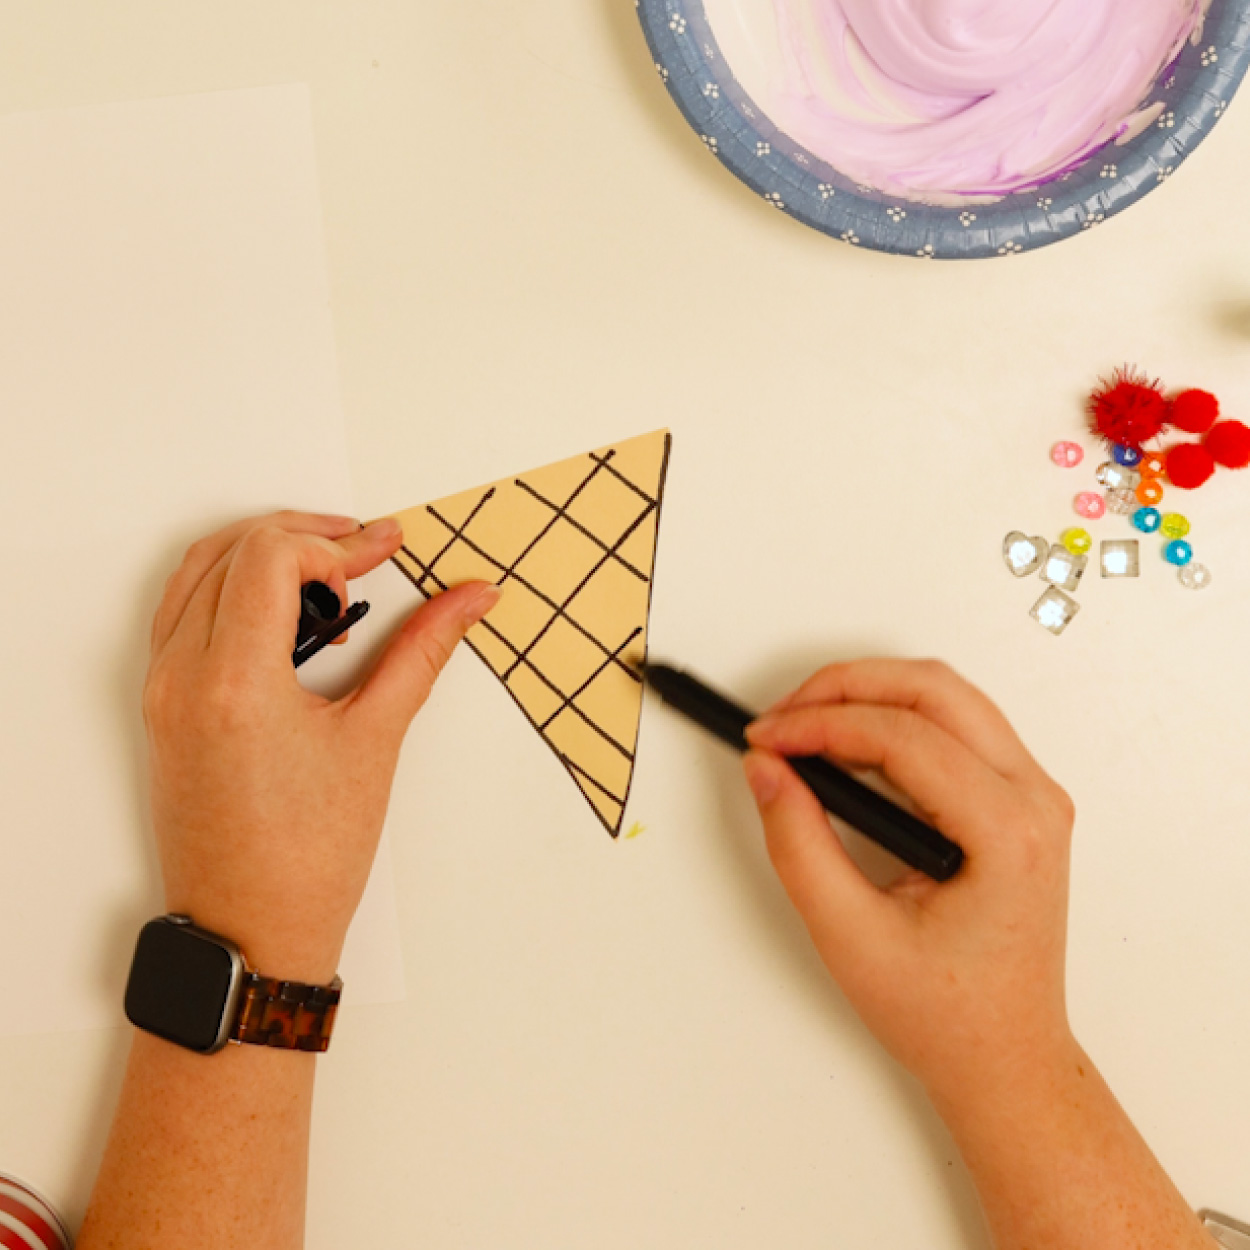
Grab your brown construction paper and cut out a cone (or triangular) shape. Then, with your crayon, add waffle pattern details to the cone and glue it to the white paper.

Draw your ice cream cone

STEP 3

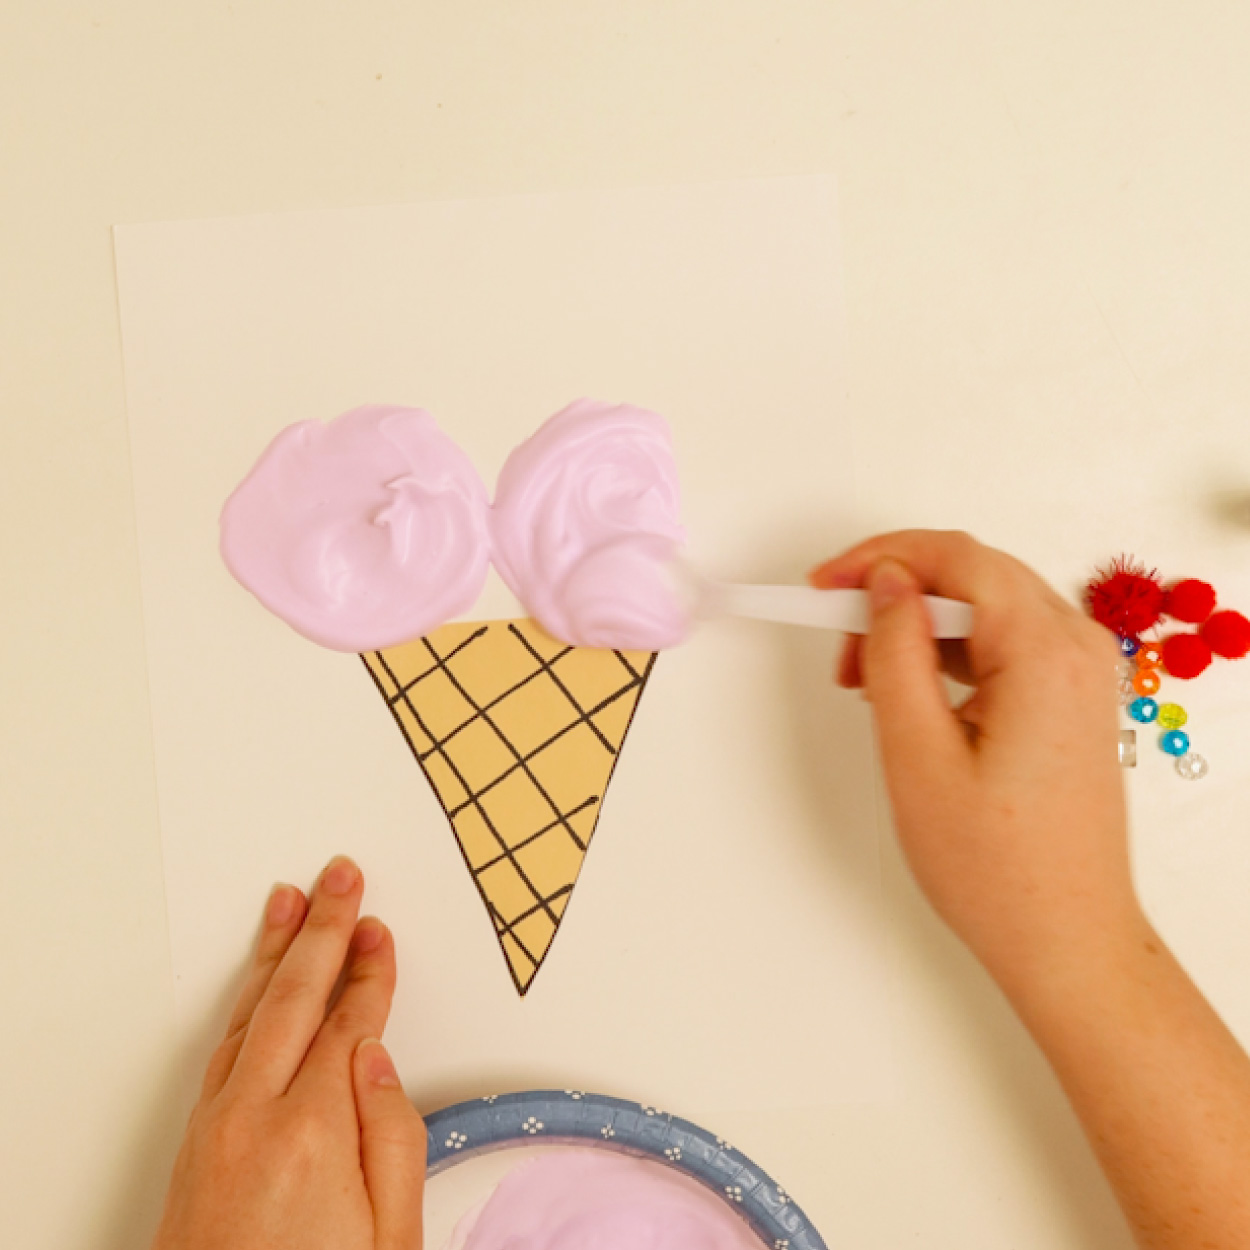
Using a spoon, scoop your puffy paint onto the top of your cone. Pile it on generously- the fluffier, the better! Notice how it looks round and three-dimensional, just like a real scoop.

Add puffy paint ice cream to the cone

STEP 4

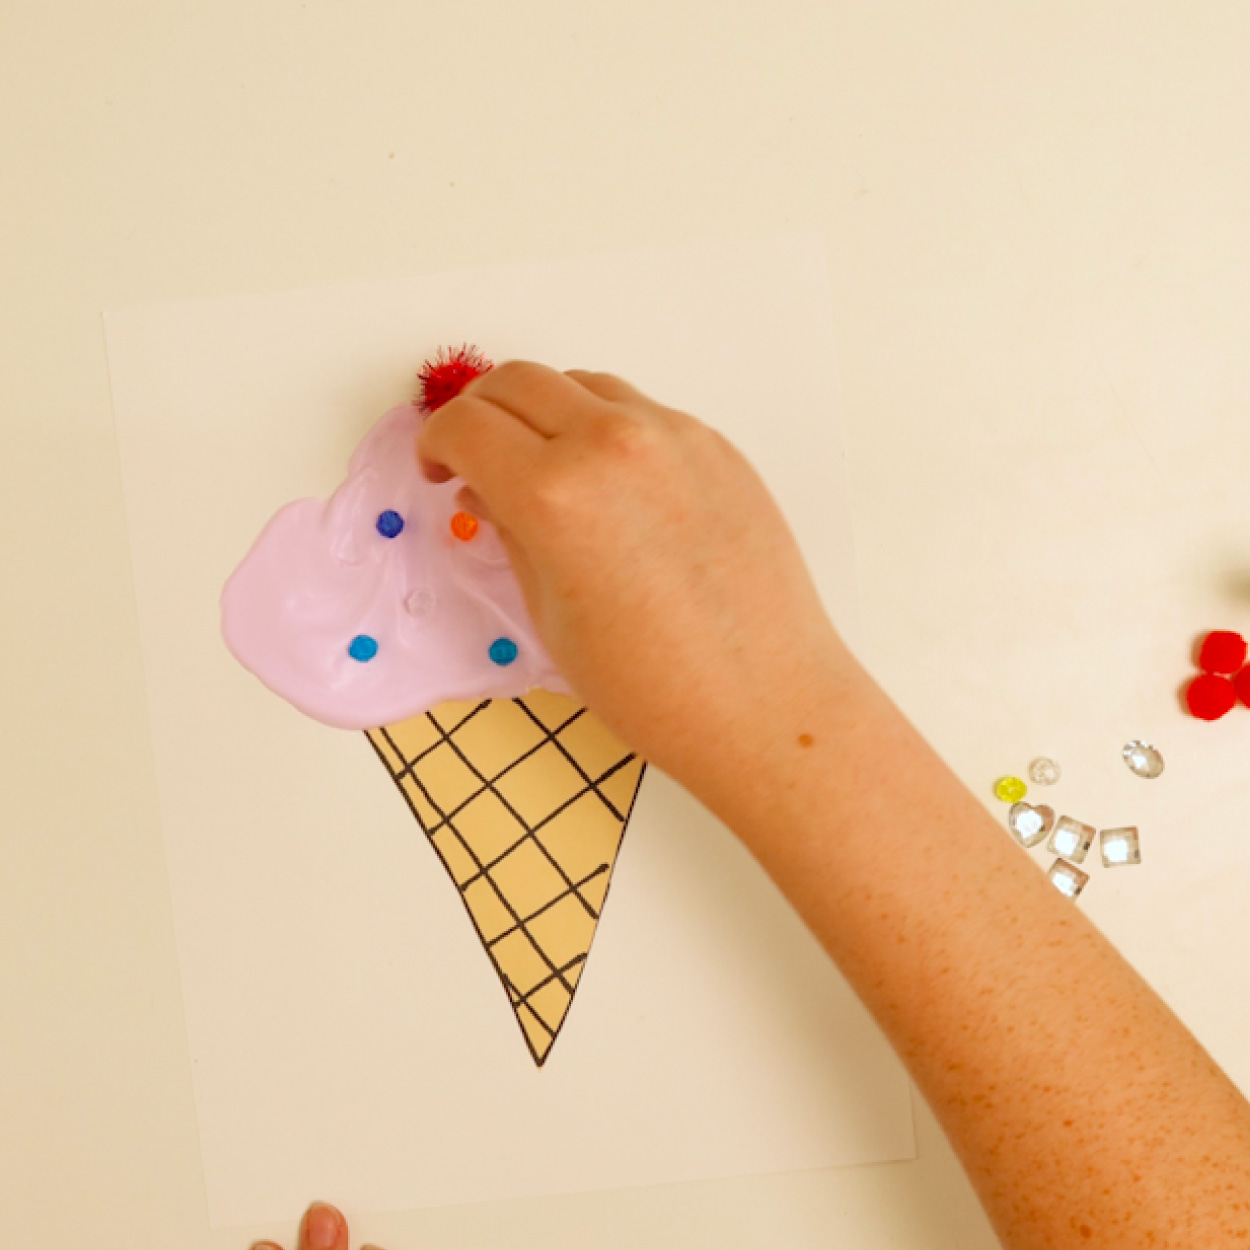
Now for the fun part — the toppings! Press pom poms, beads, and pinches of glitter into the puffy paint while it’s still wet. Each one sinks slightly into the paint and stays put as it dries, creating a beautifully textured, three-dimensional bas relief artwork.

Add ice cream "toppings" to your ice cream

STEP 5

Set your puffy paint ice cream cone flat to dry. It will puff up even more as it dries! Once dry, the surface will be raised and textured, making a truly one-of-a-kind mixed media artwork.

Note: Remind little ones that the puffy paint is not for eating. It might look like a real ice cream cone, but it won’t taste like one!

Finished puffy paint ice cream cone.